
Last updated October 17, 2026
 Single hung
 Double hung
 Horizontal roller
 Casement
 Bay & bow
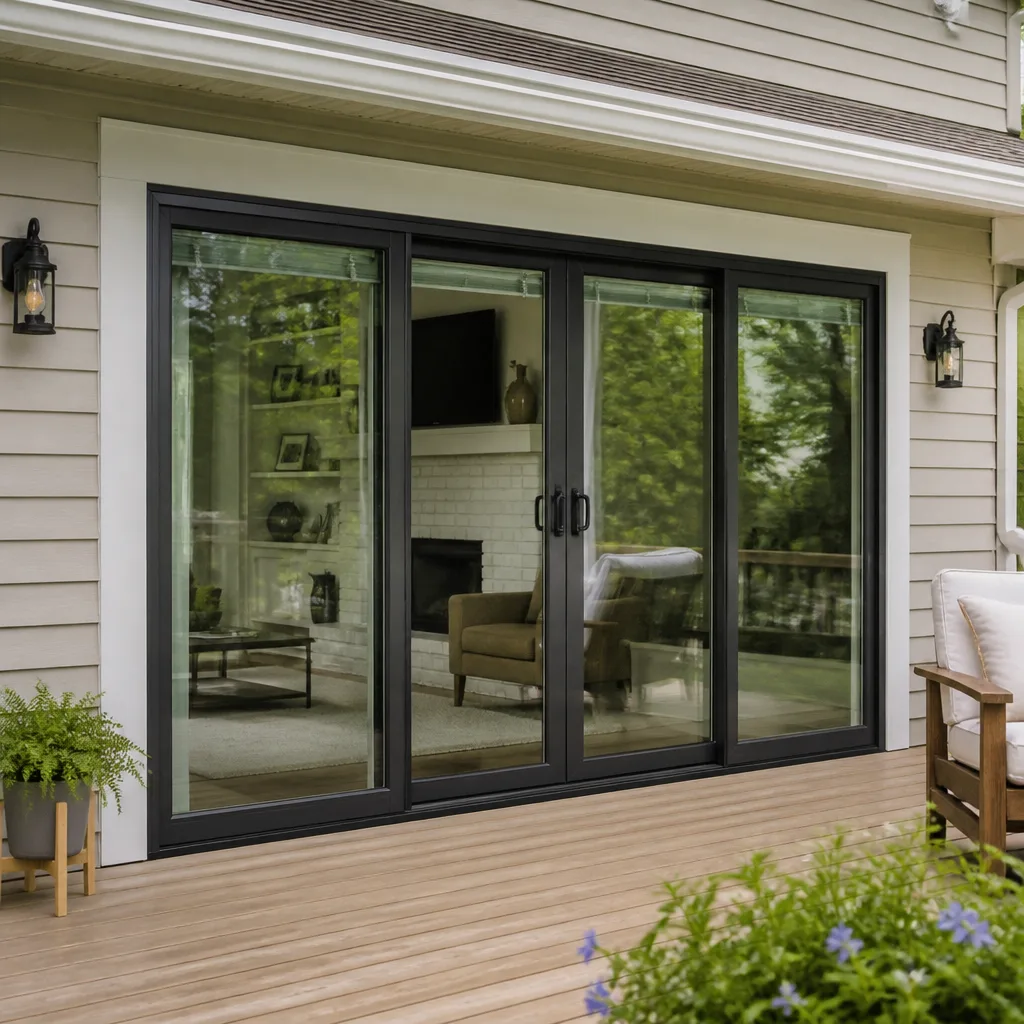 Sliding glass doors
 Entry doors
 Impact garage doors
 PGT
PGT CGI
CGIFree in-home measure and quote - PGT, CGI and CWS impact lines compared on your actual openings, style by style
Get your free estimateWindow Replacement Maintenance Checklist for Jacksonville Homeowners
The most expensive window failures in Jacksonville don’t start with a cracked pane. They start with a weep hole clogged by oak pollen in March that nobody noticed until August’s daily downpour found somewhere to go that wasn’t outside the house. By the time the water stain shows on the drywall, the window frame has been quietly holding moisture for months. This guide gives you a maintenance calendar built around Jacksonville’s actual stress points: pollen season, peak humidity, hurricane prep, and the two weeks after a named storm passes. For more guides & resources on protecting your home, explore our blog. You’ll know exactly what to touch, what to photograph, what to log, and what to leave alone.
Quick Answer
A Jacksonville window maintenance checklist needs to follow the city’s coastal climate calendar, not a generic four-season model. The essentials: clear weep holes every March and September, test door sweeps and weatherstripping each spring, photograph every window from the inside and outside twice a year as a baseline, inspect frames and seals within 48 hours after any named storm passes, and keep a simple dated log of every observation. Most of this takes under 20 minutes per window, and the documentation matters more than most homeowners realize when a warranty or insurance claim comes up.
Styles & brands we work with
Table of Contents
- Why Jacksonville’s Climate Demands a Different Maintenance Calendar
- The Baseline Photo Set: What to Record at Installation
- Weep Holes: How to Clear and Test Them Without Voiding Your Warranty
- Door Sweeps and Weatherstripping: The Dollar Bill Test, Explained
- The Month-by-Month Maintenance Calendar for Jacksonville
- Post-Storm Inspection: The 48-Hour Window After a Named Storm
- The Maintenance Log: A Simple Format That Becomes Claim Documentation
- Common Mistakes to Avoid
- When to Call a Professional
- Frequently Asked Questions
Why Jacksonville’s Climate Demands a Different Maintenance Calendar
Jacksonville sits at a specific intersection of climate pressures that manufacturer manuals written in Ohio or Minnesota simply don’t address. We get 50 inches of rain a year. We get oak and pine pollen so thick in March that it coats window tracks in a yellow film within 48 hours. We get humidity levels above 90 percent for weeks at a stretch from June through September. And we get hurricane season from June 1 through November 30, every year, no exceptions. A window that performs flawlessly in a dry climate faces a completely different set of stressors here.
The single most important shift in thinking is this: in Jacksonville, window maintenance is not about preserving the glass. It’s about preserving the drainage system. Every properly installed window in this city has a drainage path built into the frame, usually through small openings called weep holes at the bottom of the exterior side. Those weep holes are the difference between water going outside and water going into your wall cavity. When they clog, and they always clog eventually, the water has nowhere to go but in. That’s the story behind most of the window-related wall damage we see on window replacement in Jacksonville jobs across neighborhoods from Mandarin to Riverside to the Beaches.
Here’s what the stress calendar actually looks like for a Jacksonville window:
- January through February: Cooler, drier air. Frames contract slightly. This is when failed seals from the previous summer show up as fogging between panes.
- March through April: Pollen season. Oak, pine, and cedar pollen load every horizontal surface, including window tracks and weep hole openings. This is the critical cleaning window most people skip.
- May through June: Rising humidity and the first afternoon thunderstorms. Any drainage issue from pollen season starts showing as condensation, sticking sashes, or musty smells near window frames.
- July through September: Peak humidity, daily rain, and peak hurricane activity. This is when minor drainage problems become visible water damage.
- October through November: Hurricane season ends. Post-storm inspection time. Any salt spray from coastal wind events needs rinsing off frames and glass.
- December: Brief cooler period. Frames contract. Gaps that developed over summer become cold-air leaks you can feel with your hand.
That’s the real calendar. No snow, no ice dams, no freezing rain. Instead: pollen, humidity, rain, and wind. If your maintenance routine doesn’t hit those four things at the right times, you’re working against yourself.
The Baseline Photo Set: What to Record at Installation
You can’t track change without a starting point. That sounds obvious, but fewer than one in ten Jacksonville homeowners we visit has any photographic record of what their windows looked like when they were installed. That’s a problem because warranty claims and insurance claims both turn on the same question: when did this problem start, and what did the window look like before? Without a baseline, you’re arguing from memory. With a baseline, you’re arguing from a timestamped image.
Here’s the baseline photo set we recommend every homeowner capture on the day the installation crew leaves. If your windows were installed years ago and you never did this, start now. A late baseline is still better than no baseline.
- Exterior full-view photo of each window, frame included. Stand back far enough to capture the entire window with about two feet of wall on each side. This shows the relationship between the window and the surrounding cladding, where most water intrusion actually begins.
- Close-up of each bottom corner, exterior side. This is where weep holes live on most vinyl and aluminum frames. You want a clear shot showing the hole is open and clean on day one.
- Interior full-view photo of each window, frame included. Include the sill and about a foot of wall below. This becomes your reference for any future staining, bubbling, or discoloration.
- Close-up of the sill from above, looking down. This captures the track condition, the sealant line, and any factory markings. If the track ever wears or the sealant fails, you’ll be able to compare against a known-good state.
- Door sweep photo, bottom edge of each exterior door. Get low enough to see the sweep making contact with the threshold. This is your reference for the dollar bill test described below.
- One wide interior shot of each room with windows. This documents furniture placement and floor condition near each window, which helps if you ever need to establish what was protected and what was exposed.
Store these photos in a folder on your phone or cloud drive named with the date and the window’s location. Fifteen minutes on installation day saves real frustration years later when a claim processor asks for evidence.
Weep Holes: How to Clear and Test Them Without Voiding Your Warranty
Weep holes are the small slots or holes along the bottom exterior edge of most replacement windows. They let water that enters the track drain to the outside. In Jacksonville, they clog with pollen in spring and with dirt and insect debris during the rainy season. When they clog, water backs up in the track and eventually finds its way under the sill, into the wall, or onto the interior floor.
The good news: clearing weep holes is simple, safe, and does not void a manufacturer warranty as long as you use the right approach. The tools that are safe are a small bottle brush, a pipe cleaner, a can of compressed air with a thin nozzle, or a wet-dry vacuum with a crevice tool. The motions that are safe are gentle: brush downward and outward, blow from the inside of the track toward the outside, never pry at the frame material itself.
The things that are not safe: any metal tool that scratches the frame, any sharp object used to ream out the hole, and any pressure washing directed at weep holes. Pressure washing can force water past the drainage channel and into the wall cavity, which is exactly what the weep holes exist to prevent. Never drill new weep holes. Never enlarge existing ones. That alters the engineered drainage path and will absolutely give a manufacturer a reason to deny a claim.
Here’s the testing method we use on our own window installation in Jacksonville jobs and recommend to every homeowner:
- Locate every weep hole on the exterior bottom edge. Most windows have two: one near each corner. Some larger windows have a third in the middle.
- Brush each hole gently with a dry pipe cleaner or small bottle brush. Pull out any visible debris.
- Pour about half a cup of clean water directly into the interior track. You want to see the water drain out through the weep holes onto the exterior sill or ground within a few seconds.
- If water pools and doesn’t drain, blow compressed air from the interior side of the track through the weep channel. Work gently. If it still doesn’t drain, the channel may be blocked deeper in the frame, and that’s a service call rather than a DIY fix.
- Repeat on every window, twice a year. March after pollen season and September before the last stretch of hurricane season.
This is a fifteen-minute task per window on the first pass and five minutes per window once you know where everything is. It’s the single highest-impact maintenance action for Jacksonville homes.
Door Sweeps and Weatherstripping: The Dollar Bill Test, Explained
An exterior door sweep is the strip along the bottom edge of the door that seals against the threshold. In Jacksonville’s climate, these sweeps fail from heat, humidity, and constant use. A failing sweep lets humid outdoor air in and conditioned indoor air out, and in the rainy season, it lets water under the door. The test for a properly functioning sweep is simple and costs exactly one dollar.
Here’s how the dollar bill test works. Open the exterior door, place a dollar bill on the threshold, and close the door on it. Now try to pull the bill out. A proper sweep should grip the bill with enough friction that you feel resistance, but not so much that the bill tears when you pull firmly. If the bill slides out with no resistance, the sweep is worn or the threshold has settled. If the bill won’t move at all and tears, the sweep is too tight and the door is dragging.
What a healthy sweep looks and feels like: the sweep should make even contact across the entire threshold. No daylight visible under the door from the outside. No gaps at the corners where the sweep meets the jamb. The sweep material, usually rubber or vinyl, should be flexible and free of cracks. Run your fingers along it: if it feels brittle, crumbles at the edges, or has visible tears, it’s done.
Weatherstripping around the sides and top of the door follows the same logic. Close the door and run your hand around the perimeter. If you feel moving air, the weatherstripping has compressed past usefulness and needs replacement. On a humid August day in Jacksonville, the tell is often visual: condensation forming on the interior side of the door frame in the morning means warm, wet outdoor air is finding its way through a failed seal.
An exterior door that doesn’t seal properly isn’t just uncomfortable. It’s actively taxing your air conditioner and inviting moisture into the door frame, which leads to swelling, sticking, and eventually rot in wood frames. If you’re already looking at a replacement door, we carry Therma-Tru and Mr-Glass entry doors among the brands we install for door installation in Jacksonville, and we check sweep fit as part of every install.
The Month-by-Month Maintenance Calendar for Jacksonville
This is the calendar we use on our own homes and the one we hand to every customer after an installation. It’s built around Jacksonville’s climate events, not arbitrary seasons. Each month has one primary task. Most take less than half an hour. The point is consistency, not intensity.
January: Inspect Glass Seals for Fog
Cooler air makes failed seals visible. Walk every window and look for fogging, condensation between panes, or a milky haze that won’t wipe off. Failed seals mean the insulating gas has escaped and the window’s thermal performance is compromised. Note any fogged units in your maintenance log. They need replacement, not repair, and catching them early prevents wasted energy through the next air conditioning season.
February: Test Locks and Hardware
Operate every lock, crank, and sliding mechanism on every window and door. Lubricate moving parts with a dry silicone spray, never WD-40, which attracts dust and gums up in humid air. Tighten any loose screws. If a lock doesn’t engage smoothly, get it fixed before hurricane season when you’ll actually need it to hold.
March: Clear Weep Holes After Pollen Season
Oak pollen season peaks in late February and March in Jacksonville. That yellow film you see on your car is also coating your window tracks and clogging your weep holes. Use the weep hole clearing and testing method described above. This is the single most important maintenance task of the year for preventing water damage.
April: Check Exterior Caulk and Sealant Beads
Walk the exterior perimeter of every window. Look at the caulk line where the window frame meets the siding or stucco. You’re looking for cracks, gaps, peeling, or missing sections. Run a finger along the bead: it should be firm but flexible. If it’s brittle or crumbly, plan to have it recaulked before the summer rain pattern starts.
May: Test Every Door Sweep and Weatherstrip
Use the dollar bill test on every exterior door. Check weatherstripping for compression and gaps. This is also a good time to check the threshold: over time, thresholds settle and create gaps. A door that sealed fine in January may not seal fine in May after the soil shifts.
June: Pre-Hurricane Season Full Walkthrough
Do the full inspection: weep holes, seals, caulk, sweeps, hardware, glass. Photograph everything as a pre-season baseline. If you have hurricane shutters or impact-rated windows, test that the shutters deploy smoothly and that the windows show no frame damage from last season. Make sure every window locks properly. A locked window is significantly more resistant to wind pressure than an unlocked one.
July: Watch for Interior Condensation After Morning Thunderstorms
By July, the daily storm pattern is fully established. Check interior sills and the drywall below windows after heavy rain. Condensation on the interior side of the glass means humidity is not being managed properly, either by the window’s thermal break or by the home’s HVAC. Intermittent condensation is normal; persistent daily condensation is a problem to document and address.
August: Inspect for Salt Accumulation in Coastal Areas
If you live east of the Intracoastal or within a mile or two of the ocean, salt spray builds up on window frames and glass during the summer. Rinse exterior frames and glass with fresh water every two weeks during peak summer. Salt is corrosive to aluminum frames and will eventually pit hardware and compromise sealant.
September: Post-Hurricane-Season Midpoint Check
September is the statistically busiest month for Jacksonville hurricane activity. After any named storm passes, follow the post-storm protocol in the next section. Even if no storm comes, do a mid-season weep hole clearing. Summer rains deposit silt and organic debris faster than most homeowners expect.
October: Clean Tracks and Rollers
Vacuum every window track thoroughly. Remove any debris that has accumulated over the rainy season. For sliding windows and doors, clean the rollers and tracks with a dry brush. Small pebbles or grit in a track will chew up rollers over time and make the window progressively harder to open.
November: Final Hurricane Season Wrap-Up
Do another full walkthrough. Document any damage or wear in your log. This is the end of the storm season, so anything that happened during the season needs to be noted now while it’s fresh. If repairs are needed, schedule them well before next June.
December: Check for Air Infiltration
On a cool day, walk each window and run your hand around the frame from the inside. Feel for drafts. Mark any window that leaks air. This tells you where weatherstripping or sealant has failed and gives you your punch list for the coming year.
Post-Storm Inspection: The 48-Hour Window After a Named Storm
The two weeks after a named storm passes through Jacksonville are when hidden damage becomes visible. Wind-driven rain and pressure changes stress windows in ways normal weather never does. The critical inspection window is the first 48 hours after the storm: that’s when you’ll catch water intrusion while the evidence is fresh and before secondary damage sets in.
Here’s the step-by-step post-storm protocol we recommend:
- Start outside, at each window. Look for displaced caulk, lifted flashing, cracked exterior cladding, or any gap between the window frame and the wall that wasn’t there before. Photograph everything.
- Check every window for water in the track. Even windows that stayed closed may have water in the track from wind-driven rain blowing past seals. Dry the track with a cloth and verify the weep holes are still draining.
- Inspect interior sills and drywall below windows. Run your hand along the drywall. Feel for dampness, softness, or warping. Look for water stains even after the surface dries; a tideline on the paint is a permanent watermark that tells you water got in.
- Open and close every window. Wind pressure can rack a frame subtly even when the glass doesn’t break. If a window is suddenly hard to open or no longer locks, the frame may have shifted.
- Check glass for stress cracks starting at the edges. Impact is obvious. But stress cracks from wind flex are often hairline fractures starting at one corner and spreading slowly over the following weeks. Document any you find.
- Check exterior doors the same way. Sweeps, weatherstripping, threshold fit. Wind-driven rain exploits any weakness.
If you document damage promptly and your window was professionally installed, you’re in a much stronger position for a warranty or insurance claim than if you discover the problem in November and try to reconstruct what happened in September. Your maintenance log is the backbone of that documentation.
The Maintenance Log: A Simple Format That Becomes Claim Documentation
A maintenance log sounds formal, but it’s just three pieces of information attached to every maintenance action you take: photo, date, and note. That’s it. The format doesn’t matter as much as the consistency. A notes app, a spreadsheet, a photo album, or a paper notebook all work. What matters is that the record exists and that it’s timestamped.
Here’s the format we recommend:
- Photo. Take at least one photo per window per maintenance session. Phone cameras timestamp photos automatically. That timestamp is the documentation.
- Date. Note the date explicitly. In a claim, a dated note is an entry in a log. An undated photo is just a picture.
- Note. One or two sentences about what you inspected and what you found. “Weep holes cleared, both draining normally.” “Fogging visible between panes on living room window, first noticed this month.” “Caulk cracking at bottom right corner of master bedroom window.”
Here’s a sample entry for a typical March maintenance session:
March 14, 2026. Cleared weep holes on all 12 windows. Front bedroom window: right weep hole was fully clogged with pollen, cleared with pipe cleaner and verified draining. All other windows draining normally. Photos taken of all exterior window bottoms. No other observations.
That entry takes two minutes to write and is worth its weight in a warranty claim. Insurance adjusters and manufacturer claim processors love this kind of record because it shows the homeowner maintained the product. If a seal failure shows up in August, and your log shows you inspected the window in March and noted no fogging, you’ve established exactly when the failure occurred. That’s how claims get approved.
Common Mistakes to Avoid
- Skipping March weep hole clearing. This is the single most damaging omission for Jacksonville homes. Pollen is sticky, and once it’s saturated by spring rain, it forms a paste that compacts into the weep channel. August water damage is usually a March maintenance failure.
- Using the wrong tool and voiding the warranty. Metal picks, screwdrivers, or anything that scratches the frame gives the manufacturer an easy out on a claim. Stick to brushes, compressed air, and vacuum.
- Pressure washing windows. High-pressure water forces past seals and into the wall cavity. Rinse with a garden hose at low pressure or wash by hand. If you have a pressure washing service, ask them to avoid the windows entirely.
- Assuming impact windows are maintenance-free. Impact-rated windows still have weep holes, seals, and caulk lines that need the same care as standard windows. The glass rating doesn’t exempt the frame from Jacksonville’s climate.
- Waiting until after the damage is visible to start logging. The log needs a baseline. If your first entry is the crisis, you’ve lost the “when did this start” question that every claim processor asks.
- Ignoring fogged glass because the window still opens. A fogged double-pane unit means the seal is gone and the insulating gas has escaped. The window still opens, but it’s no longer insulating. Replacing one fogged-unit in a run of windows is far cheaper than waiting until several fail.
- Lubricating tracks and hinges with WD-40. In humid air, WD-40 becomes a dust magnet and forms a sticky film that makes the problem worse over time. Use dry silicone spray or a manufacturer-approved lubricant.
When to Call a Professional
Some things are homeowner maintenance. Some things are professional territory. Call us if you see water entering the home interior through or around a window frame, if a window has cracked or the glass has failed, if the frame is visibly warped or separated from the wall, if a window no longer locks or closes fully after a storm, or if you have persistent fogging between panes. Those conditions indicate something beyond routine wear. Lightwell Windows Jacksonville offers free estimates in Jacksonville, and we’re glad to look at any window concern, whether we installed the window or not. Call (904) 914-3691 and describe what you’re seeing; we’ll give you a straight answer about whether it needs service.
We install PGT, Mr-Glass, ViewLux, and five other manufacturer brands, so our recommendation is based on what your home actually needs, not what we happen to have in stock. And every window we install at Lightwell Windows Jacksonville home is covered by our 365-Day Done Right Promise: if it’s not right, we make it right.
Frequently Asked Questions
Twice a year at minimum: once in March after pollen season and once in September before the end of hurricane season. If you live under heavy tree cover or near the coast, add a third check in July when daily thunderstorms are depositing silt faster than the weep channels can self-clear.
Fogging between the glass panes means the seal between the panes has failed and the insulating gas has escaped. It cannot be repaired; the glass unit needs replacement. The frame can usually stay. This is a common issue in Jacksonville where daily temperature swings stress seals over time. If you’re seeing fog in a window less than ten years old, document it in your maintenance log and call us at (904) 914-3691; some manufacturer warranties cover seal failure.
Most Window Replacement services in Jacksonville run between $600 and $1,400 per opening depending on size, frame material, glass package, and installation complexity. A standard vinyl double-hung with a mid-grade glass package typically lands near $700 to $900 per window. Impact-rated windows run higher. The only way to get an exact number is to have the actual openings measured. We give a written price before any work starts, so you’ll never see an invoice surprise at the end.
Lock every window and door. A locked window resists wind pressure much more effectively than an unlocked one. Clear your weep holes so drainage works during the storm. Take a baseline photo set if you haven’t already. If you have shutters, deploy them. If you have impact-rated windows, they don’t require additional covering, but you should still verify the frames and seals are in good condition going into the season. Make sure your installation also meets Windows & Doors Permits, Codes & Inspections in FL: What You Need to Know.
Fogged glass, a warped frame, a window that no longer closes or locks, visible water intrusion, or a window that leaks air you can feel with your hand are replacement signals. Hardware, tracks, and weatherstripping can usually be repaired. The honest answer for most Jacksonville windows over 20 years old is that replacement with a modern energy-efficient unit pays for itself in reduced air conditioning load faster than most people expect. See our Windows & Doors Cost Breakdown: The Jacksonville Homeowner’s Reference for 2026 for detailed pricing guidance. A free estimate gives you the facts without obligation.
It’s the written guarantee on every install we do: if the finished work is not right, Lightwell makes it right, no debate and no countdown. It’s part of the Cedarwell Care Promise we’ve operated under since 2010, along with shoe covers and drop cloths on every visit, a photo of the clean-up before the crew leaves, and a written price before any work starts. Every one of those things is standard, not optional.
The Bottom Line
Jacksonville windows fail from water, not from cold. The maintenance that matters is drainage maintenance: weep holes in March and September, caulk and sealant checks in April, sweep and weatherstrip tests in May, and a post-storm walkthrough within 48 hours of any named storm. Keep a simple log with photo, date, and note for every window, every session. That log is your evidence when a claim comes up. Fifteen minutes per window twice a year prevents most of the water damage we see in Jacksonville homes, and the cost of the maintenance is nothing compared to the cost of the repair it prevents. If a window has reached the point where replacement is the honest answer, call (904) 914-3691 for a free estimate. We’ll give you a written price before any work starts, and the 365-Day Done Right Promise means the job stays right or we make it right.
Written by Keith Yamada, Owner at Lightwell Windows Jacksonville, serving Jacksonville since 2010.
See the difference
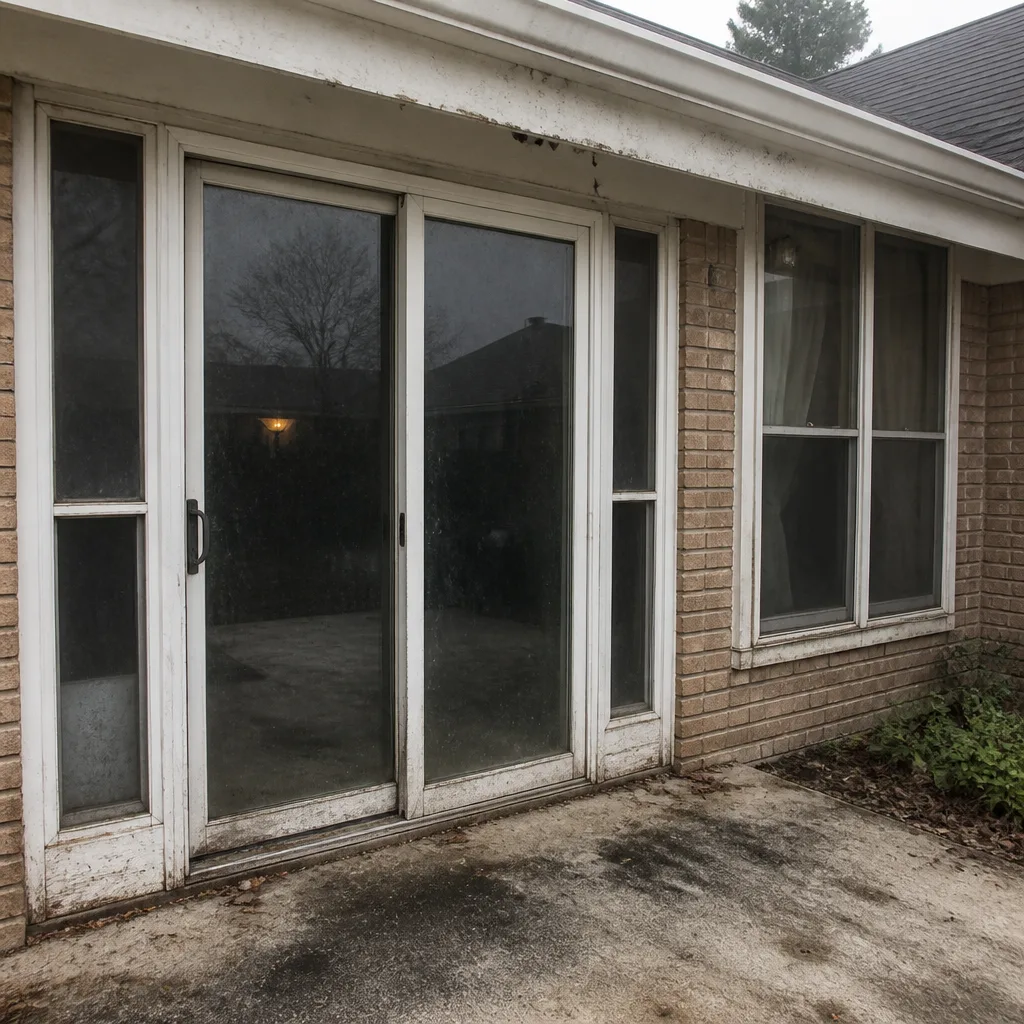 Before
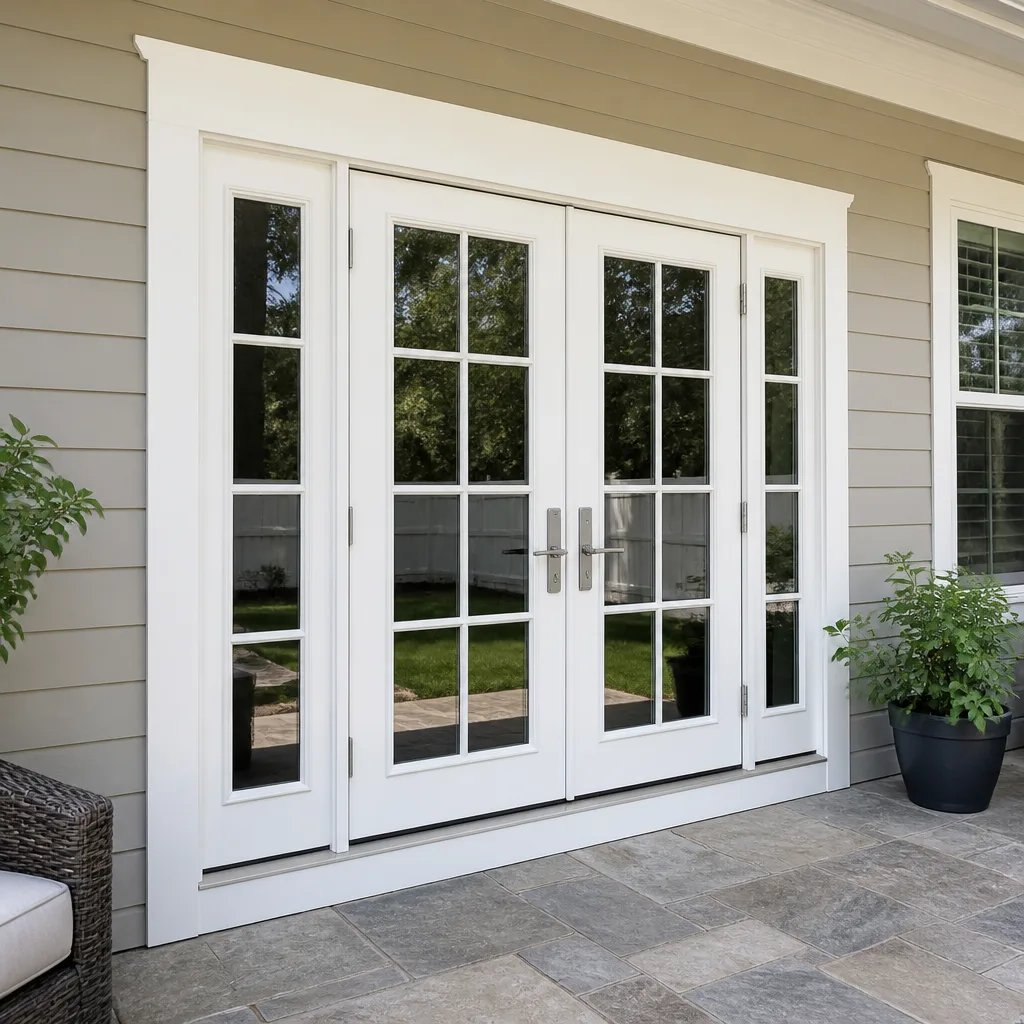 After
After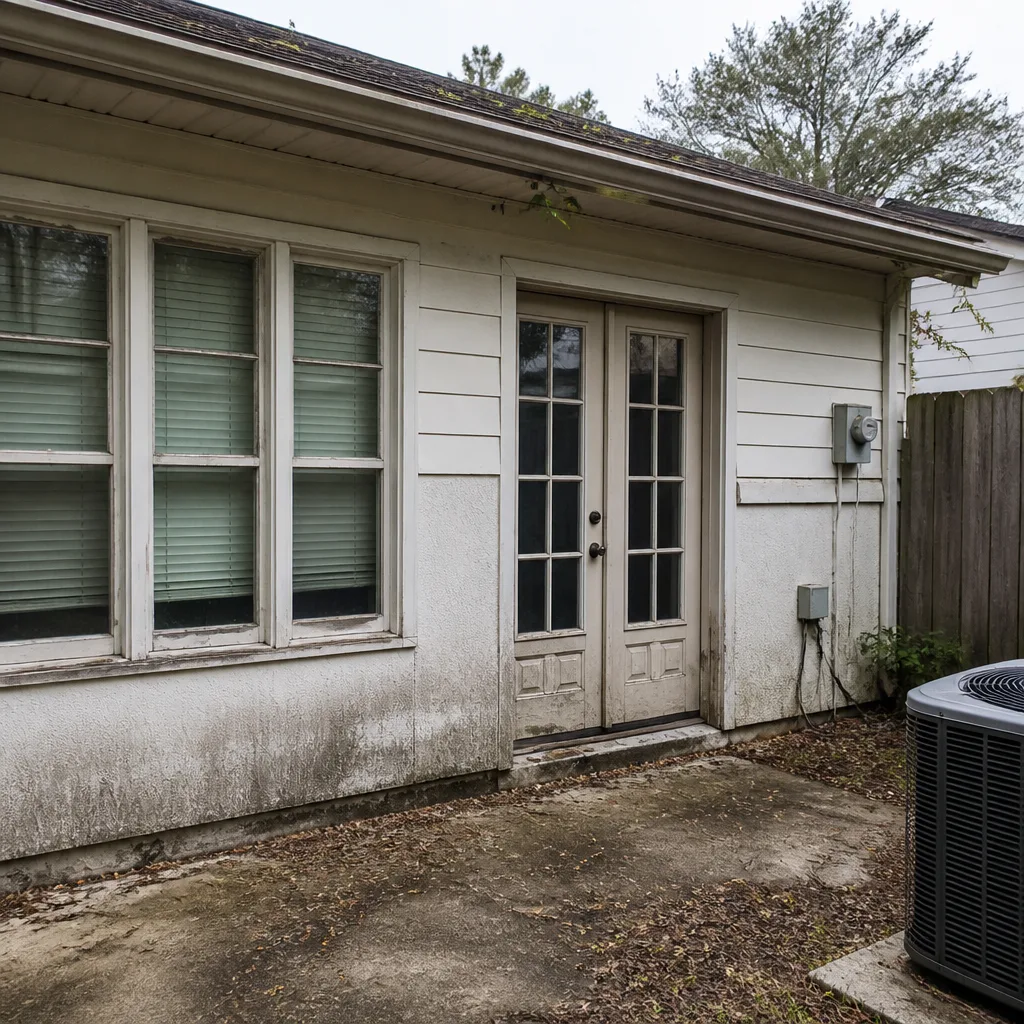 Before
 After
After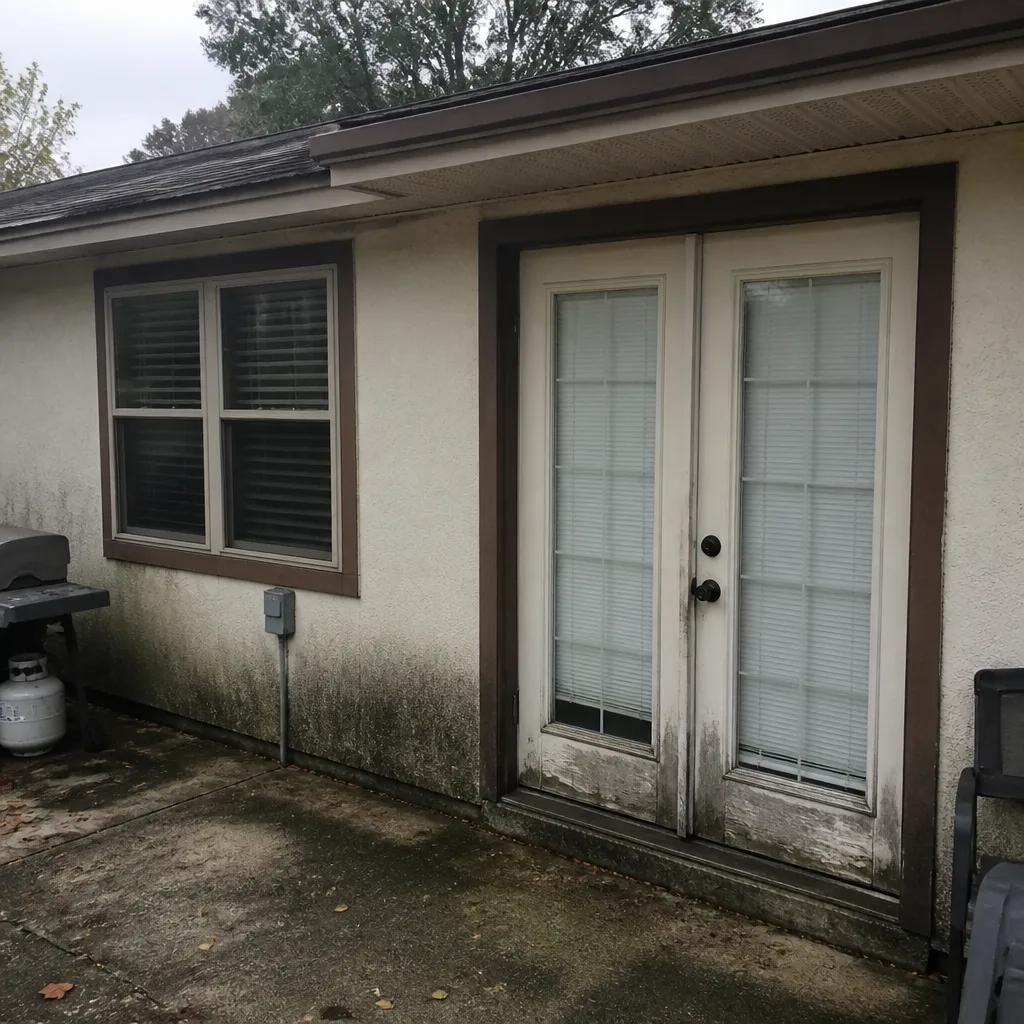 Before
 After
AfterSix Reasons Homeowners Choose Lightwell Windows Jacksonville
Impact systems engineered to design pressures up to +/-100, matched to your wind zone - your openings hold when the storm arrives.
Low-E insulated impact glass from our manufacturer lines commonly cuts monthly cooling bills 20-30%.
Laminated impact glass shuts out up to 40% of outside noise - traffic, neighbors, weather.
Monitoring services run $30-90 a month. Laminated impact glass resists forced entry around the clock, with no subscription.
Florida homeowners average around 25% savings on the windstorm portion of their policy after protecting every opening - some homes qualify for more.
A full impact package upgrades curb appeal, buyer confidence and appraised value in one project.