
Last updated October 17, 2026
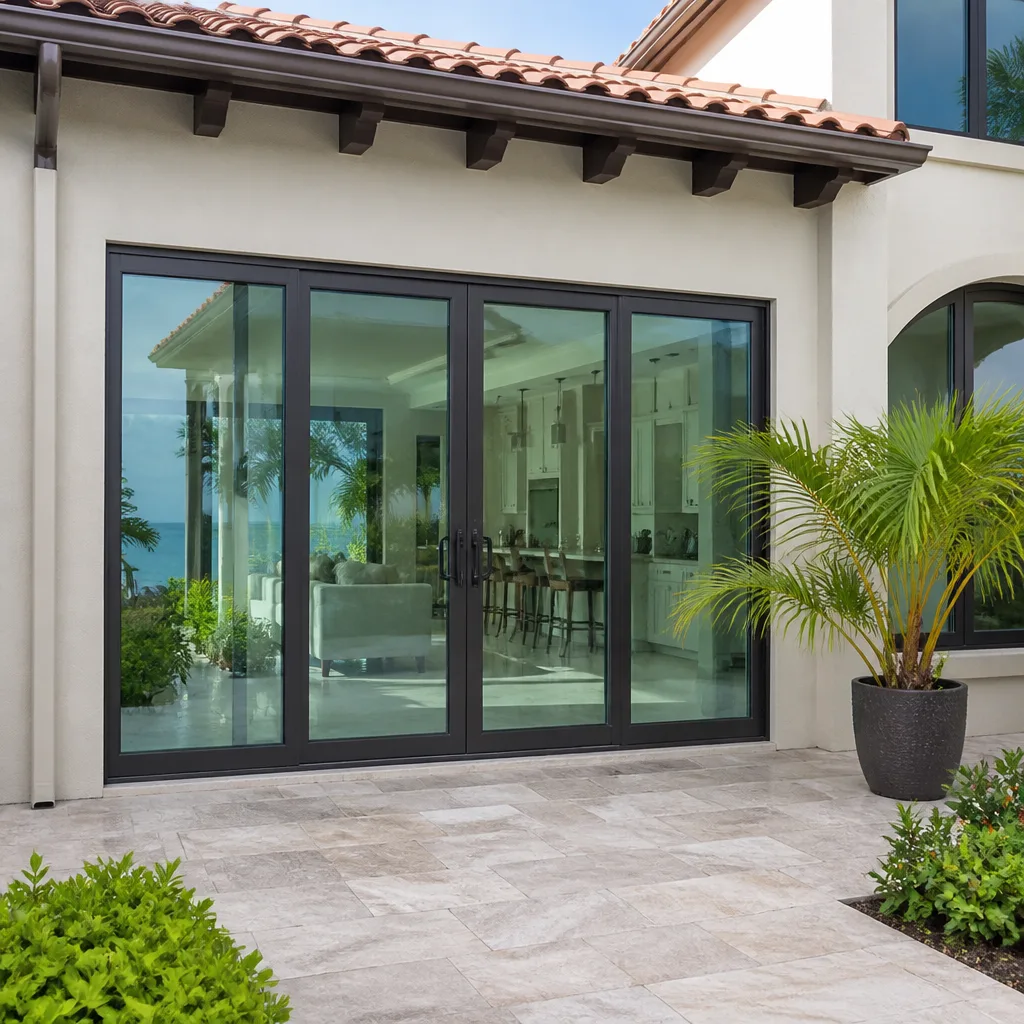
 Sliding glass doors
 Single hung
 Double hung
 Horizontal roller
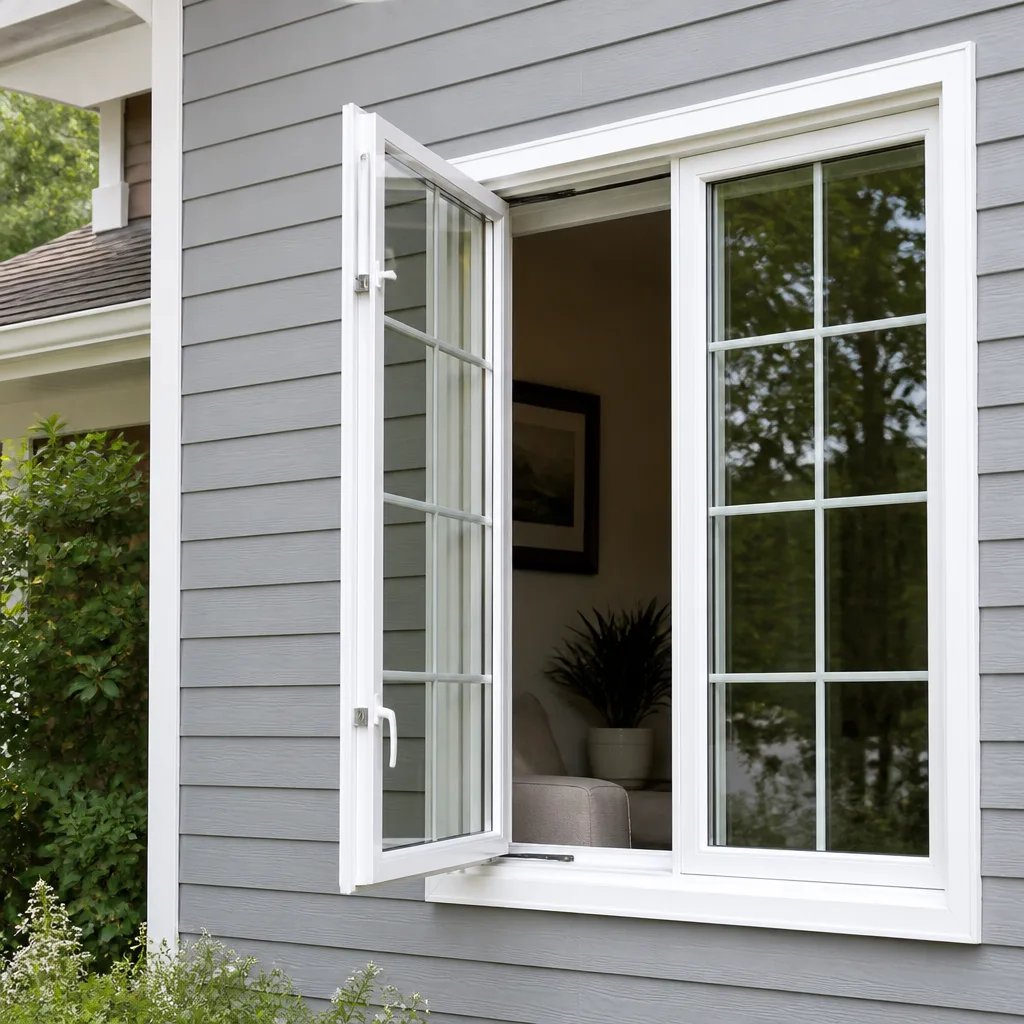 Casement
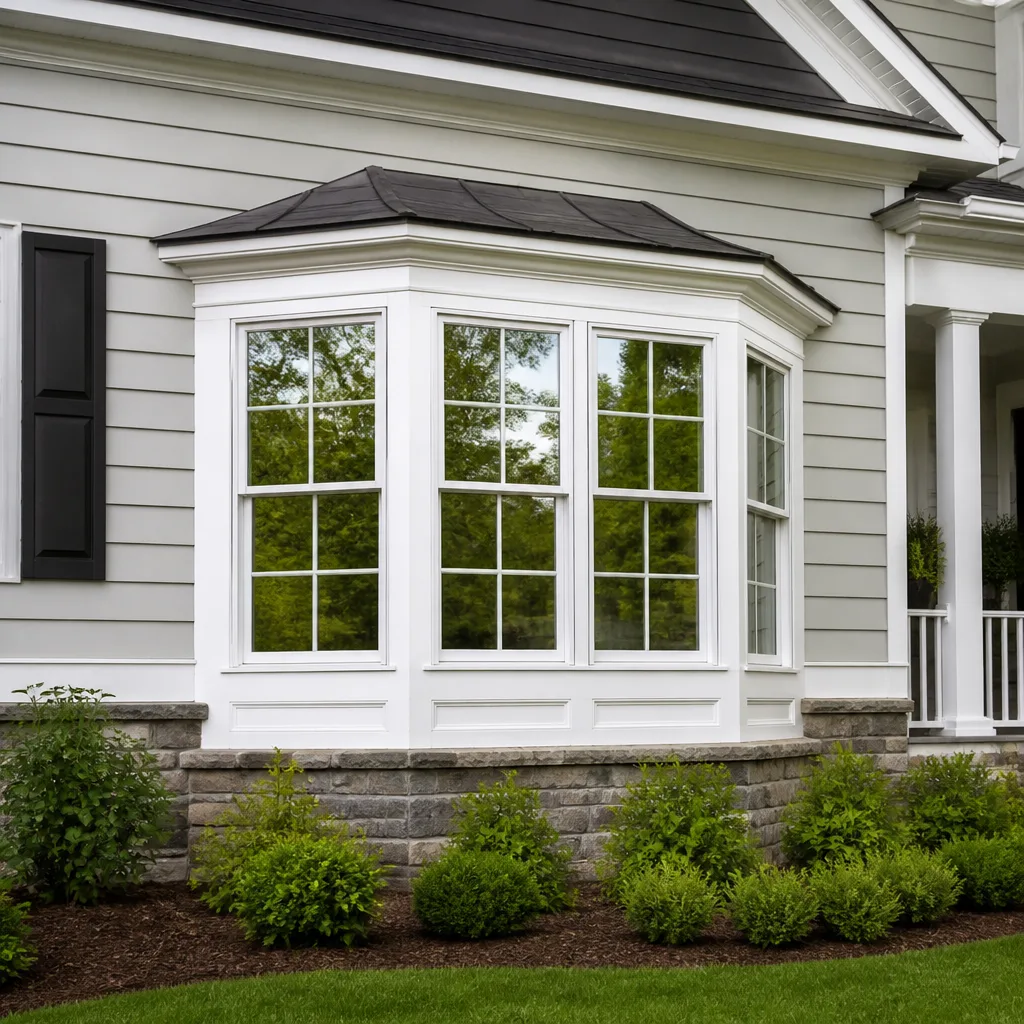 Bay & bow
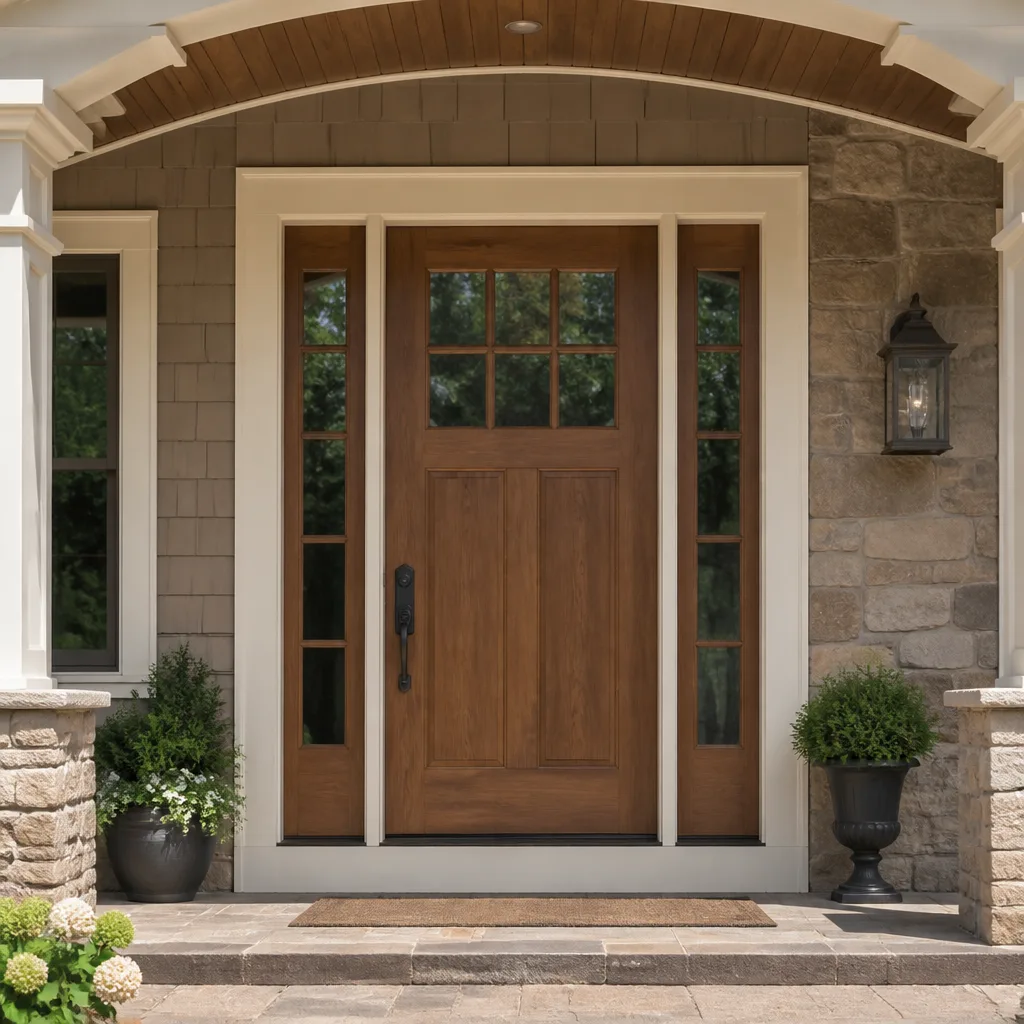 Entry doors
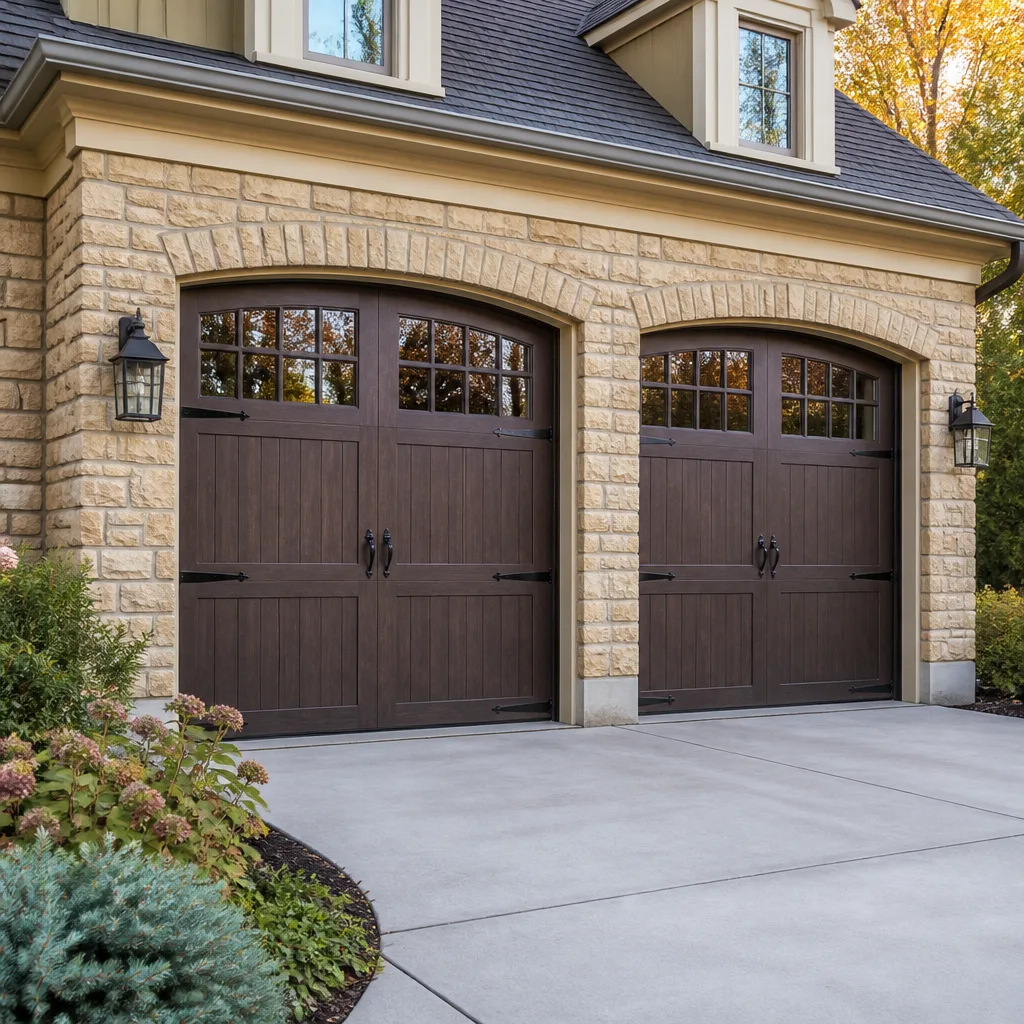 Impact garage doors
 PGT
PGT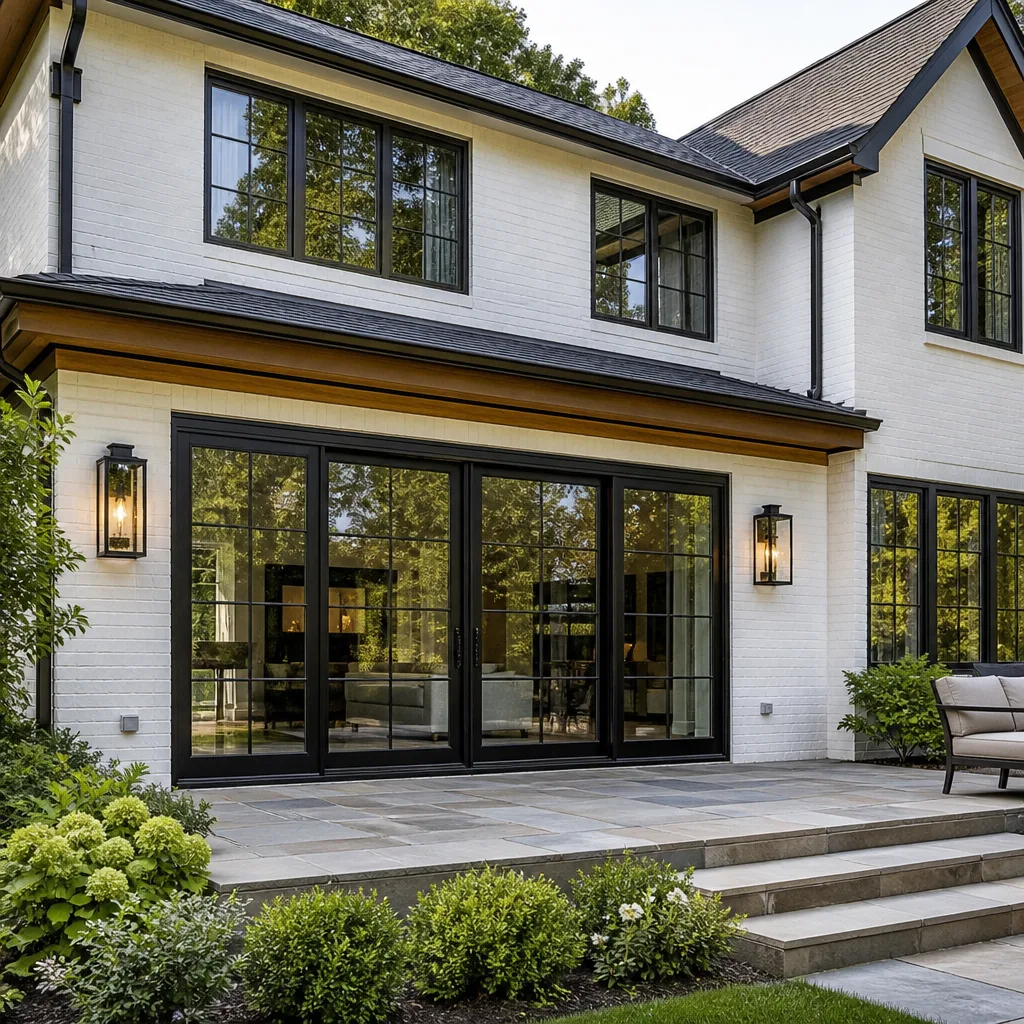 CGI
CGIFree in-home measure and quote - PGT, CGI and CWS impact lines compared on your actual openings, style by style
Get your free estimateDIY vs Professional Windows & Doors: The Jacksonville Homeowner’s Decision Guide
Florida law quietly hands Jacksonville homeowners a power most national DIY guides never mention: the right to install your own windows and doors as an “owner-builder.” You can pull your own permit, set your own anchors, and sign your own inspection card. But that same statute tucks in a catch. You must personally occupy the home, personally apply for the permit, and personally stand behind the installation if it ever fails inspection or leaks into your framing. That legal distinction reshapes the entire DIY versus professional question in Jacksonville, because the real decision is not whether you are handy. It is whether you are willing to become the manufacturer’s warranty department, the city’s liable party, and your own insurance company for a building envelope in a hurricane zone. This guide maps the exact thresholds, the specific inspection points, and the real dollar consequences so you can decide opening by opening instead of making one oversize bet on the whole project.
Styles & brands we work with
Quick Answer
DIY window and door installation in Jacksonville is legally permitted under Florida’s owner-builder exemption for owner-occupied homes, and it can save $150 to $400 per opening in direct labor, but it typically voids the manufacturer’s product and labor warranty, shifts all water-intrusion liability onto the homeowner, and frequently fails Duval County inspection at flashing integration, anchor spacing, or impact-unit buck depth. The professional route costs more upfront and passes inspection more reliably while keeping the warranty intact. The smart play for most Jacksonville homeowners is a hybrid: handle interior trim, painting, and sill prep yourself, and hire a licensed installer for the waterproofing, anchoring, and flashing work that determines whether the opening leaks during the next named storm. See our guide on How to Hire a Windows & Doors Contractor in Jacksonville: A Step-by-Step Guide before you choose.
Table of Contents
- The Legal Threshold: What Florida’s Owner-Builder Exemption Actually Allows in Duval County
- The Three Inspection Points That Fail Most Jacksonville Window Installations
- The Tool and Skill Inventory: What a Single-Story Vinyl Swap Actually Requires
- The Warranty Math: What Owner-Installation Costs You Over 10 Years
- The Honest Hybrid Path: What to Do Yourself and What to Hand Over
- Jacksonville-Specific Conditions That Change the Calculus
- Common Mistakes to Avoid
- When to Call a Professional
- Frequently Asked Questions
- The Bottom Line
The Legal Threshold: What Florida’s Owner-Builder Exemption Actually Allows in Duval County
Florida Statute 489.103(7) creates an exception to the state’s contractor licensing law. A homeowner can act as their own contractor for improvements to a single-family residence they occupy, provided they sign an owner-builder affidavit at the permit office and accept full responsibility for the work. In Duval County, that means you walk into the Building Inspection Division, sign a form that puts you on the legal hook for code compliance, and you are the named permit holder. Not a contractor. Not a handyman. You.
That sounds empowering. It is, until you read the fine print. Three restrictions change the practical picture for Jacksonville homeowners:
- Owner-occupancy requirement. The exemption applies only if you live in the home. A rental property, a flip, or a house you purchased to renovate and sell does not qualify. If you are not sleeping there, you need a licensed contractor.
- The one-year resale restriction. Florida law requires that if you sell the home within 12 months of self-performing the work, you must disclose it as an owner-builder project to the buyer. Some mortgage lenders and insurers treat that disclosure as a red flag and will request a re-inspection by a licensed contractor before closing. That single disclosure can create a closing delay that costs more than the labor savings you captured.
- Personal liability without a safety net. When a licensed installer makes an error, their liability insurance and the manufacturer’s warranty absorb the claim. When you install your own window and it leaks into the wall cavity for two years before you notice the stucco staining, the mold remediation and sheathing replacement are on you and your homeowners policy. Which, by the way, may deny a water-damage claim tied to work you performed yourself without a contractor’s certificate of completion.
Our experience across Jacksonville homes in San Marco, Riverside, and Mandarin is that the owner-builder route works best for a single opening in a low-exposure wall, on a single-story home, using a non-impact window. The second you add a second story, an impact product with a Florida Product Approval number, or a load-bearing header, the legal and technical stakes climb fast. For the deeper context on full-project scope decisions, see our guide to Window Replacement in Jacksonville.
The Three Inspection Points That Fail Most Jacksonville Window Installations
Duval County inspectors follow the Florida Building Code, and they have seen every shortcut. After years of watching inspection results across Jacksonville, three specific errors surface again and again on owner-builder jobs. Knowing these points changes how you think about the whole project.
1. Flashing Integration at the Rough Opening
The rough opening is the hole in your wall before the window goes in. Flashing is the water-shedding material that moves rainwater away from that hole. The most common DIY failure is treating flashing as tape you slap on after the window is set. It is not. Proper flashing sequence starts at the sill with a sloped pan, moves up the jambs with lapped layers that shed water outward, and finishes with a head flashing that tucks behind the water-resistive barrier. Miss the sequencing and you build a funnel that directs water into the wall rather than out of it. Jacksonville inspectors look hard at this because our rain is often horizontal, driven by Atlantic storm bands, not the gentle vertical rain that forgiving climates allow.
2. Buck Depth on Impact Units
Impact windows carry a Florida Product Approval number, often referenced as the FL#. That approval document specifies a maximum and minimum buck depth, the distance the window frame sits into the wall. A window set too proud or too deep violates the approval and fails inspection. On wood-frame or stucco-over-wood Jacksonville homes built before 1980, the existing buck is frequently out of tolerance, and correcting it means reframing the opening before the new unit goes in. That is real carpentry, not a weekend swap.
3. Anchor Spacing Per the FL# Document
Each impact window approval lists the anchor type, diameter, embedment depth, and spacing required to hold the unit during a design wind event. Inspectors verify against that specific document. Guessing “every 12 inches should be fine” is how owner-builder jobs get red-tagged. The anchor schedule for a PGT unit is not the same as the schedule for an ECO Window Systems unit. If you cannot read a product approval drawing, this is the point where the project stops being DIY and starts being a gamble.
We see these same failure points on our own service calls. For a closer look at how professional crews sequence the work at the opening level, visit our Window Installation in Jacksonville page.
The Tool and Skill Inventory: What a Single-Story Vinyl Swap Actually Requires
Before you buy the window, buy a clear-eyed view of the job. Here is an honest inventory for a straightforward single-story window replacement in a typical Jacksonville home with vinyl or wood siding.
The Minimum Tool List for a Single-Story Window Swap
- A 4-foot level and a 6-foot level. Setting a window square and plumb to within 1/8 inch across both diagonals is the threshold for staying square. The longer level catches frame twist that a short one misses.
- An impact driver with a depth-setting clutch. Over-driving anchors through a vinyl nail flange warps the frame and voids the product warranty. The clutch is not optional.
- A circular saw or oscillating multi-tool. Removing the old window cleanly, cutting back rotted wood without damaging surrounding siding, and trimming the rough opening requires controlled cuts. A reciprocating saw alone creates ragged edges that complicate flashing.
- A pry bar set with flat and cats-paw bars. Old windows in Riverside and Avondale are often embedded in decades of paint and caulk. You are prying them out without damaging the interior plaster.
- Shims, backer rod, and a high-quality elastomeric sealant. The shim points at the sill corners carry the window’s weight. Backer rod gives the sealant a two-point bond plane. Cheap caulk fails in Jacksonville’s UV load within three years.
- A moisture meter. Before you install anything, you need to check the sheathing and framing at the opening for hidden rot. Skip this step and you will seal a new window into a decayed sill that fails within months.
What a Second-Story Opening Adds to the List
The second story changes the job from carpentry to rope access. You need scaffolding or a pump-jack system, a fall-arrest harness with a certified anchor point, and a second person on the ground for spotting and material handling. Impact windows in the common sizes weigh 150 to 250 pounds per unit. Maneuvering that mass on a ladder while maintaining a sealant line is not a one-person job, and it is not one to learn while your kids are watching from the driveway.
What a Historic Wood-Frame Opening Adds
In neighborhoods like Springfield or Riverside, the openings are rarely square. Decades of settlement mean the rough opening may be 1/4 inch out of square over 36 inches. Correcting that requires custom shimming, occasionally sistering a stud, and rebuilding a water-damaged sill before the new unit goes in. This is skilled finish carpentry. It is not a skill you develop by watching a video the night before.
The Warranty Math: What Owner-Installation Costs You Over 10 Years
Warranty language is the most overlooked variable in the DIY decision. Most homeowners price the job at the labor number and stop. That is the wrong math. Here is the real calculation.
Manufacturer product warranties for windows from brands like Therma-Tru and Mr-Glass typically run 10 years on insulated glass units and longer on frames. But nearly every warranty contains language around installation. The pattern breaks into three groups:
- Void-on-owner-install. Several manufacturers state plainly that installation by anyone other than a licensed contractor invalidates the product warranty. Read the specific warranty document for the exact window you are buying. Do not assume.
- Coverage-with-documentation. Some brands will honor the product warranty for owner-installed units if the homeowner provides proof the installation met the manufacturer’s published installation instructions. That means photographs of every flashing layer, anchor spacing documented against the FL# approval, and ideally a passed inspection report. Few DIY installers keep that record set.
- Labor-coverage exclusion. Even where the product warranty survives owner-installation, the labor to remove and replace a failed unit rarely does. A professional installation typically includes a workmanship warranty that covers labor. When you self-install, you are the labor warranty, which means the cost of a failed seal or a cracked lite is your weekend and your tool budget plus the replacement unit cost.
We estimate the dollar value of a workmanship warranty on a 10-year horizon at roughly $300 to $600 per opening, based on the typical cost of one labor-intensive service call to re-set a window that shifted. Multiply that by a 12-window house and the warranty alone is worth $3,600 to $7,200. That number frequently erases the entire labor savings from the DIY route. It is also the number that never appears in a YouTube tutorial.
The Honest Hybrid Path: What to Do Yourself and What to Hand Over
The conversation is not all-or-nothing. In our experience, the Jacksonville homeowners who get the best result on a budget split the job into two categories: interior finish work and structural opening work. For guidance on keeping everything in good shape year-round, see our Seasonal Windows & Doors Care for Jacksonville: Year-Round Homeowner’s Guide.
Tasks a Homeowner Can Reasonably Handle
- Interior trim removal and reinstallation. Removing old casing carefully, labeling it, and putting it back around the new window is slow, patient work. It does not affect water intrusion. This is a fair DIY task.
- Interior painting and caulking. Once the window is set and inspected, painting the new trim and running a clean interior caulk line is well within a careful homeowner’s skill set.
- Sill prep and minor wood repair. Sanding, filling nail holes, and priming the interior sill before the new window arrives saves the install crew time and teaches you about the condition of your openings.
- Site protection and pet management. Moving furniture, covering floors with your own drop cloths, and keeping pets out of the work zone are exactly the things you can do better than anyone else.
Tasks Where Professional Installation Is the Only Smart Path
- Flashing and water-resistive barrier integration. This is the single largest source of long-term damage. One layer out of sequence and the window leaks inside the wall.
- Anchor installation and torque verification on impact units. The FL# document specifies the exact fastener. The installer’s torque setting and pattern are what make the window perform in a wind event.
- Structural header or buck modification. If the rough opening requires modification to fit the new unit, that is structural work that requires a permit and a professional’s liability insurance.
- Second-story or ladder-access openings. The fall risk alone moves this out of DIY territory for any reasonable person.
The hybrid approach means you pay for what matters and control what does not. You will need a professional willing to agree to that division of labor in writing before the job starts. Not every contractor will, but the ones who stand behind a written price and a defined scope will. Lightwell Windows Jacksonville is set up exactly that way: you get a written price before any work starts, and the scope is spelled out so you know which tasks are yours and which are ours. For a closer look at that process on the door side, see our Door Installation in Jacksonville guide.
Jacksonville-Specific Conditions That Change the Calculus
Jacksonville sits in a peculiar climatic band. We are north of Miami’s year-round heat, south of Savannah’s temperate swings, and directly in the path of Atlantic hurricane season from June through November. That combination creates installation conditions generic guides miss.
Humidity and condensation. Our summer dew points hover near 75 degrees. A poorly flashed window in Jacksonville does not just leak; it condenses on the interior frame and wets the drywall below even when it never rains. That is why flash sequencing matters as much as flash presence. The trapped moisture migrates through the wall cavity and shows up as staining on the interior sill months after the installation.
Sun exposure and sealant life. An east-facing window in Jacksonville takes morning sun off the Atlantic; a west-facing window takes the full afternoon load. UV degradation of cheap caulk happens here faster than in northern climates. Professional installations typically use commercial-grade elastomeric sealants rated for our UV index. The $8 caulk tube from a home center does not last the same way.
Wind-driven rain. Named storms push rain horizontally. A window that keeps dry in ordinary weather can fail during a 40-mile-per-hour blow if the head flashing does not overlap the jamb flashing correctly. Inspectors in Duval County know this and read flashing details closely on impact installations.
Salt air in coastal neighborhoods. Homes in Atlantic Beach, Neptune Beach, and Mayport face airborne salt that accelerates corrosion on exposed anchors and fasteners. Impact window approvals specify corrosion-resistant anchoring. Using the wrong fastener near salt air means rust streaks within two years.
These conditions are why the warranty and inspection sections above matter more in Jacksonville than in, say, an inland Georgia town. The stakes are higher, the failure modes are specific, and the cost of getting it wrong lands on your homeowners insurance. Part of our job at Lightwell Windows Jacksonville home is to help you see which installations can withstand this climate and which will not.
Common Mistakes to Avoid
- Skipping the permit because “it’s just a window replacement.” Duval County requires a permit for window and exterior door replacement, and the owner-builder exemption does not waive that. An unpermitted installation can halt a future home sale and trigger a code enforcement action. Pull the permit, even for the DIY route.
- Assuming impact windows are optional because the house is old. Jacksonville is in a wind-borne debris region. If you are replacing windows in an older wood-frame home, the new units must meet current impact or shutter requirements in many circumstances. Check the code before you order.
- Buying windows before measuring the rough opening accurately. An error of 1/4 inch on an older Jacksonville home means the new window does not fit the existing buck. The window you special-ordered is now your problem. Measure twice, and if the openings vary, measure every single one.
- Using interior-only caulk to “seal” a window. Caulk is not flashing. It never has been. If the water gets behind the exterior cladding, no bead of interior caulk will stop it.
- Attempting a second-story impact window without proper fall protection equipment. This is the mistake that ends emergency rooms and worse. Rental scaffolding and a harness system cost $150 to $300 for a weekend. A fall costs far more.
- Ignoring the rot you found when you opened the wall. A moisture meter that reads above 20 percent in the sill or studs means the wood is compromised. Installing the new window over it seals the problem in until it collapses. Stop, replace the wood, and continue.
- Treating the whole house as one decision. You may DIY one easy window and hire a professional for the rest. The correct answer is per-opening, not per-project.
When to Call a Professional
There are situations where the DIY route stops making sense immediately. If the opening requires structural modification, if you are installing impact windows with Florida Product Approval requirements, if the window is above the first floor, or if you are replacing multiple openings that all need to pass a single inspection, bring in a licensed installer. The same is true for any opening in a load-bearing wall where the header must be resized. And if you have any doubt about the flashing sequence, hand that part over. The cost of a professional on the critical waterproofing work is a fraction of the cost of repairing a rotted wall cavity five years later. Use our Window Replacement Maintenance Checklist for Jacksonville Homeowners to track what matters most.
Lightwell Windows Jacksonville offers free estimates in Jacksonville. We walk the home, measure the openings, and give you a written price before any work starts. Call (904) 914-3691 to schedule yours.
Frequently Asked Questions
Yes, you can legally install your own windows in Jacksonville if you own and occupy the home, sign the owner-builder affidavit at the Duval County permit office, and take responsibility for code compliance and inspection. The exemption does not apply to rental properties, investment homes, or any house you plan to sell within one year without disclosing the self-installation. Call (904) 914-3691 if you want a free estimate on professional installation instead.
Professional window installation in Jacksonville typically runs $150 to $400 per opening in labor on top of the window unit cost, depending on the floor level, the wall type, and whether the unit is impact-rated. The DIY route eliminates that labor cost but introduces inspection risk and warranty loss. For an exact written quote on your specific home, call Lightwell Windows Jacksonville at (904) 914-3691.
In most cases, yes, owner-installation voids at least the labor coverage, and several manufacturers void the product warranty entirely for non-licensed installation. Some brands will honor the product warranty if you provide documentation proving the installation met their published instructions, including photos of flashing and anchor spacing. The safest way to keep the full warranty is to use a licensed installer.
Yes, Duval County requires a building permit for window and exterior door replacement, whether you install them yourself or hire a contractor. The permit ensures the work meets wind-load and water-intrusion requirements. Skipping it can create problems with your homeowners insurance and with a future home sale.
A homeowner can reasonably handle interior trim removal and reinstallation, interior painting and caulking, minor sill prep, and site protection like moving furniture and covering floors. The flashing, anchoring, and waterproofing work should be left to a professional, because that is where inspections fail and long-term leaks begin.
For a standard single-story vinyl window, the labor savings from DIY average $150 to $300 per opening. For impact windows or second-story openings, the labor component is higher and the risk of inspection failure climbs. When you factor in warranty loss and the potential for water damage, the DIY savings often look smaller than the upfront number suggests.
The Bottom Line
The DIY versus professional decision in Jacksonville is not a test of your competence. It is a calculation of legal exposure, warranty value, inspection risk, and water-intrusion liability in a humid, hurricane-prone climate. The owner-builder exemption gives you the right to do the work yourself; it does not give you a pass on the consequences. For a single, first-story, non-impact window in a protected wall with a homeowner willing to pull a permit and document everything, DIY can work. For impact units, second-story openings, historic wood-frame homes, or any project where water damage would be catastrophic, a professional installer is the cost-effective choice. At Lightwell Windows Jacksonville, we are glad to look at your openings and give you a straight answer. Call (904) 914-3691 for a free estimate and a written price before any work starts. For more guides & resources, visit our blog.
Written by Keith Yamada, Owner at Lightwell Windows Jacksonville, serving Jacksonville since 2010.
See the difference
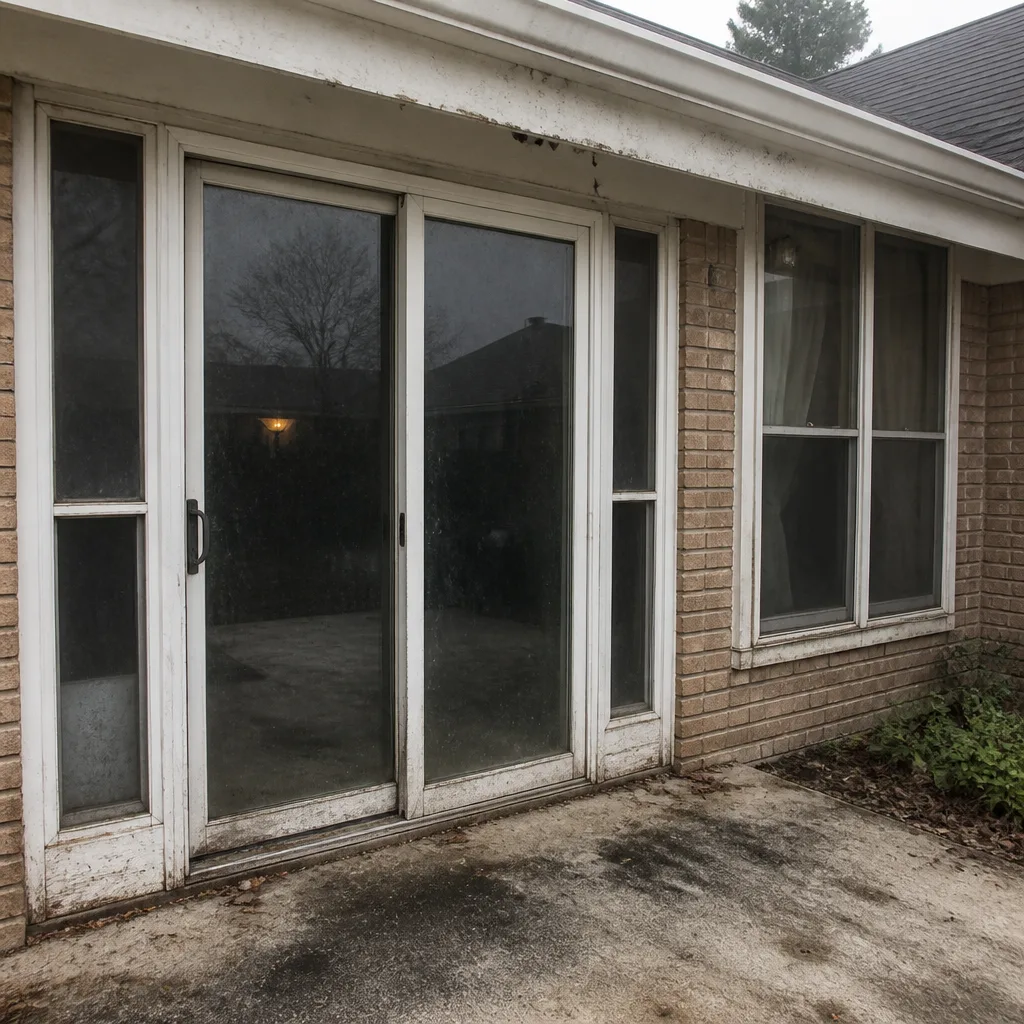 Before
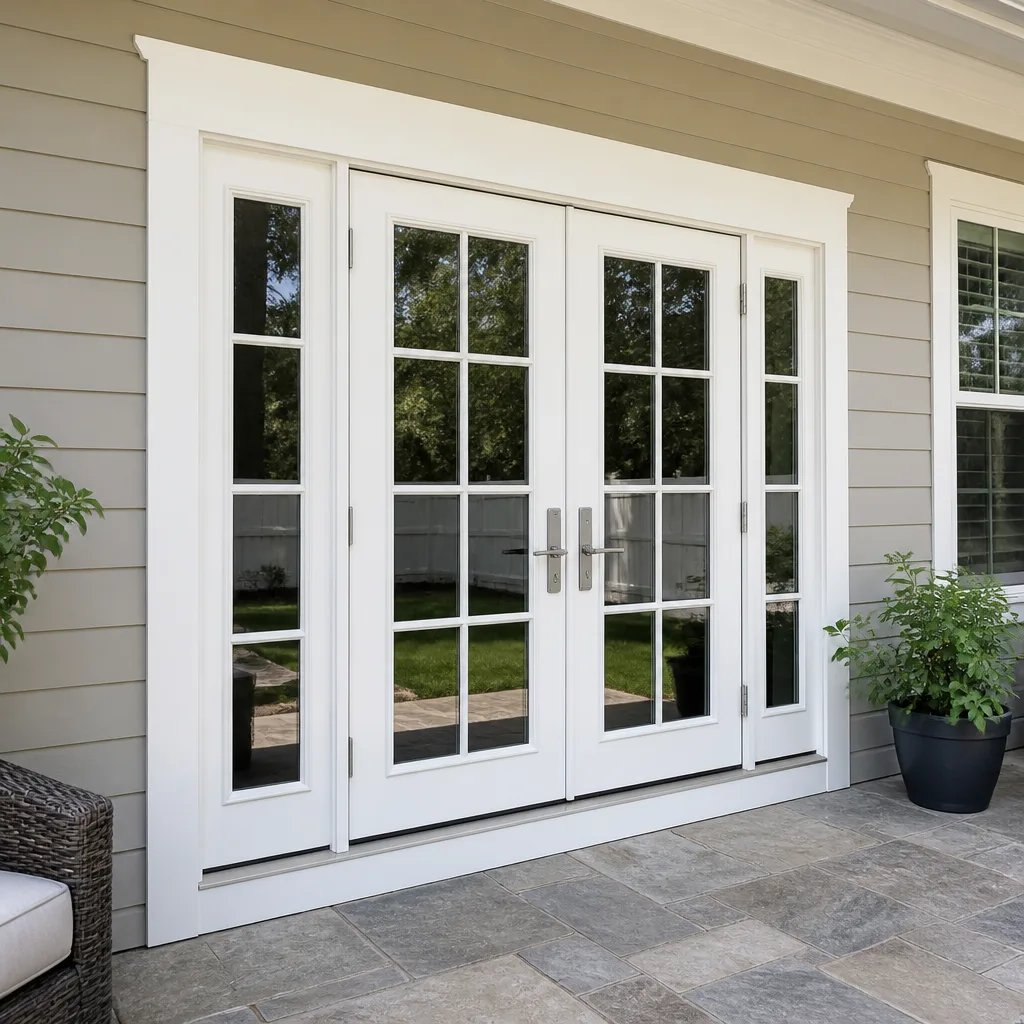 After
After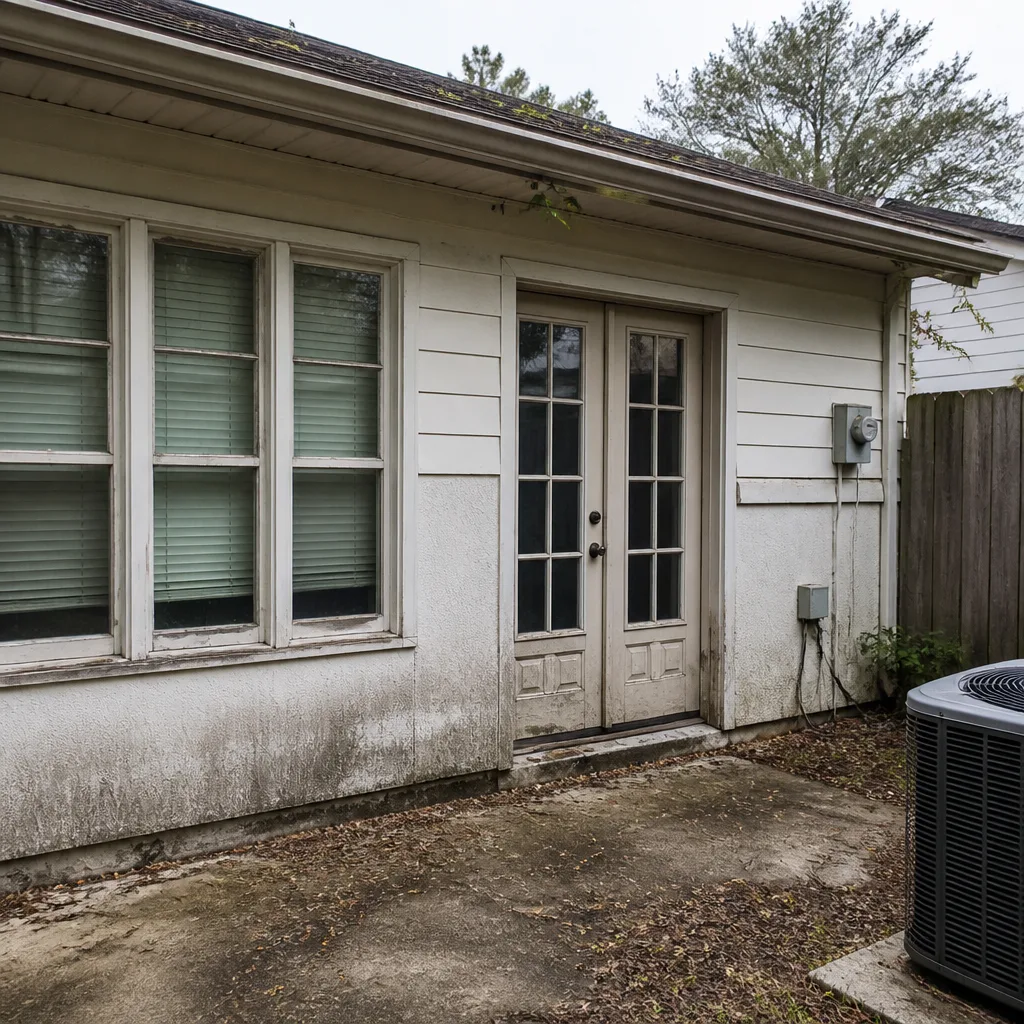 Before
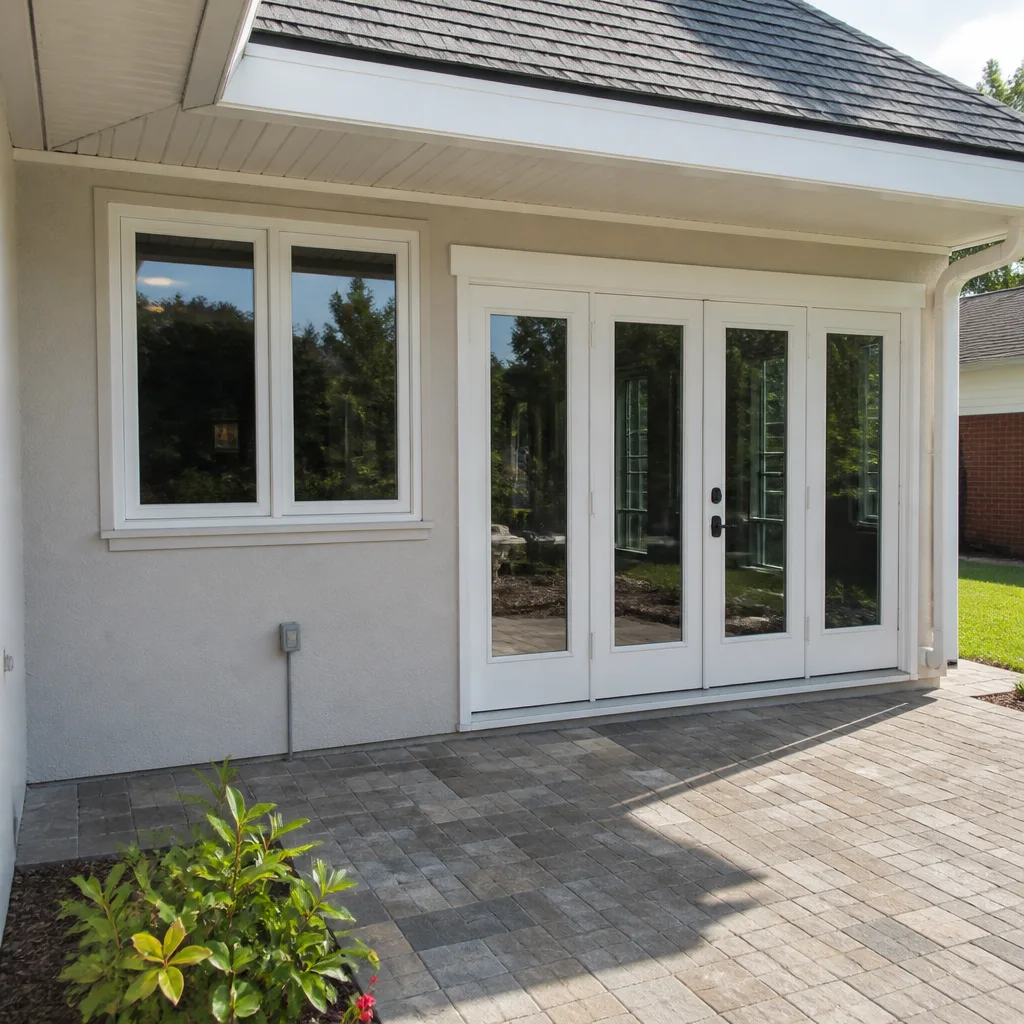 After
After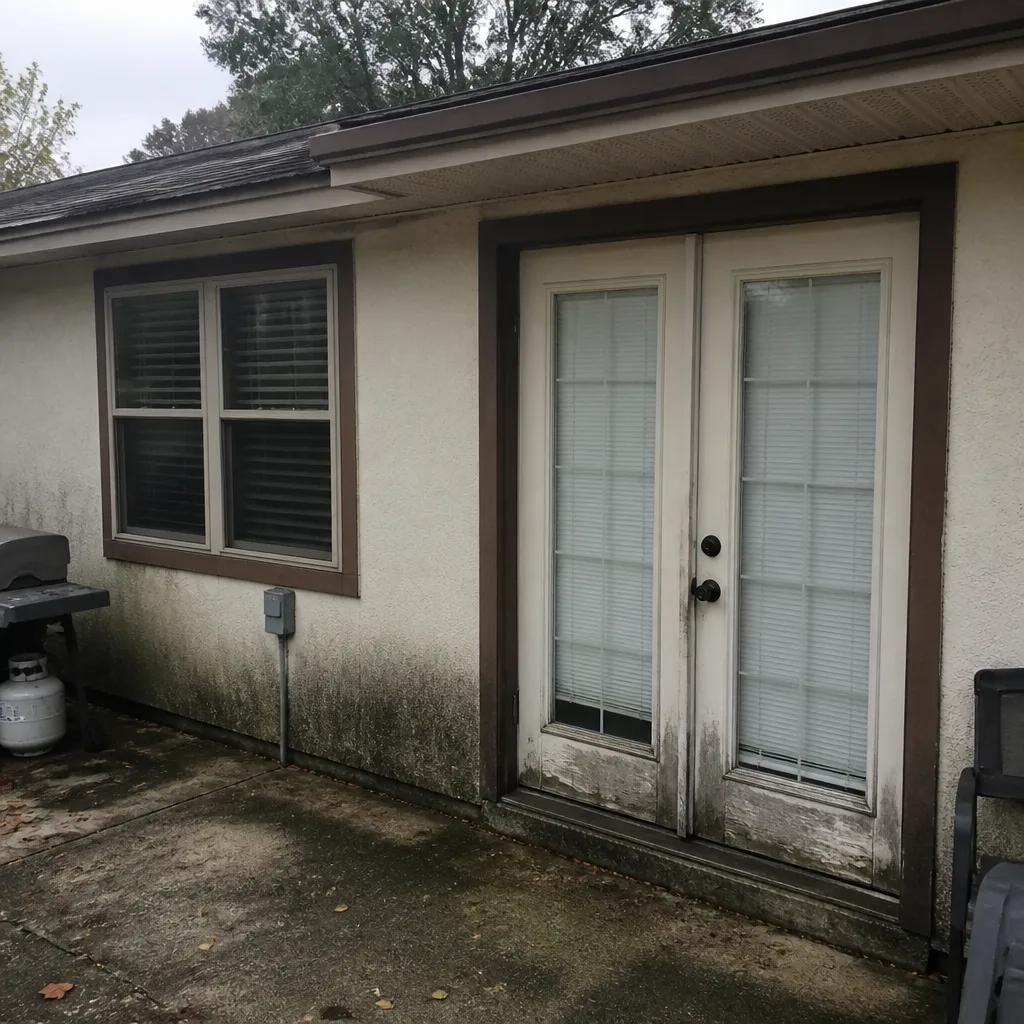 Before
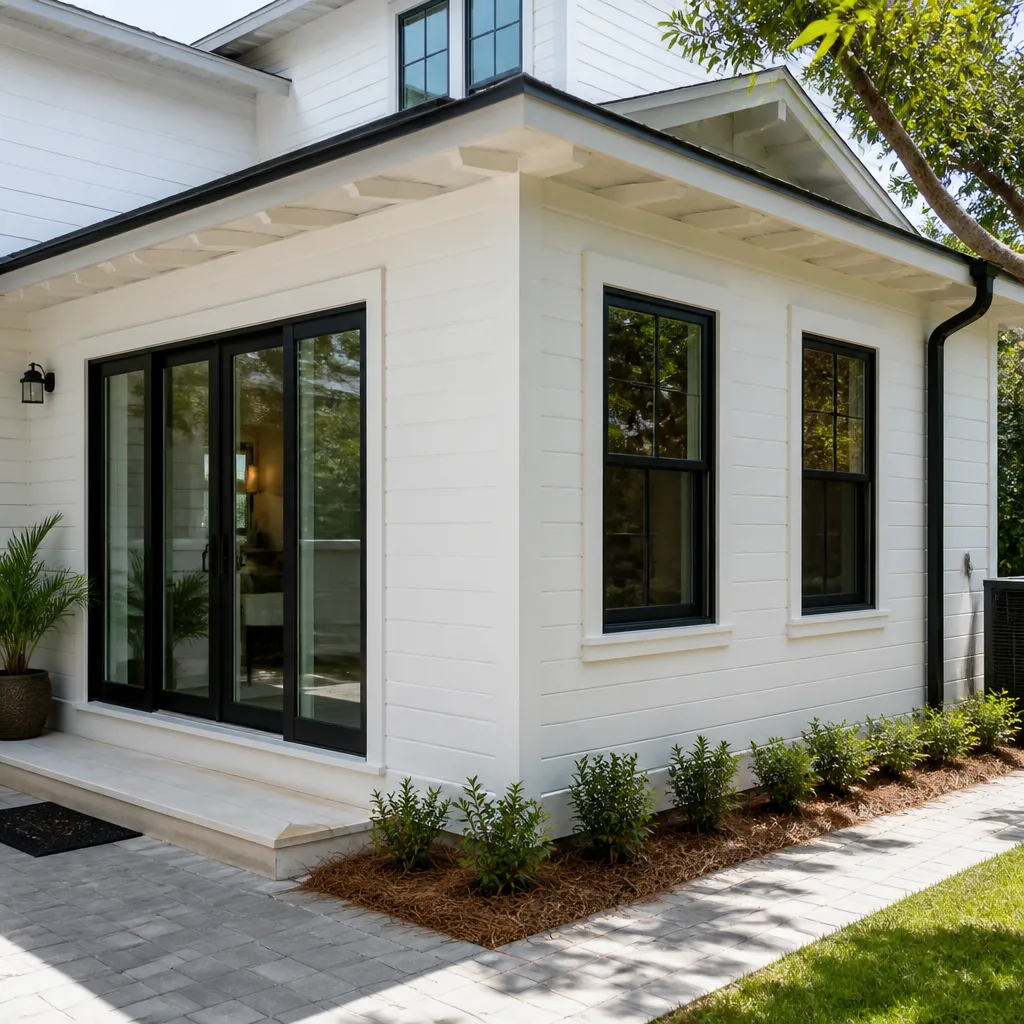 After
AfterSix Reasons Homeowners Choose Lightwell Windows Jacksonville
Impact systems engineered to design pressures up to +/-100, matched to your wind zone - your openings hold when the storm arrives.
Low-E insulated impact glass from our manufacturer lines commonly cuts monthly cooling bills 20-30%.
Laminated impact glass shuts out up to 40% of outside noise - traffic, neighbors, weather.
Monitoring services run $30-90 a month. Laminated impact glass resists forced entry around the clock, with no subscription.
Florida homeowners average around 25% savings on the windstorm portion of their policy after protecting every opening - some homes qualify for more.
A full impact package upgrades curb appeal, buyer confidence and appraised value in one project.